Apex Legends · Wraith VOD deep dive
Hucubama: close-cover clutch review
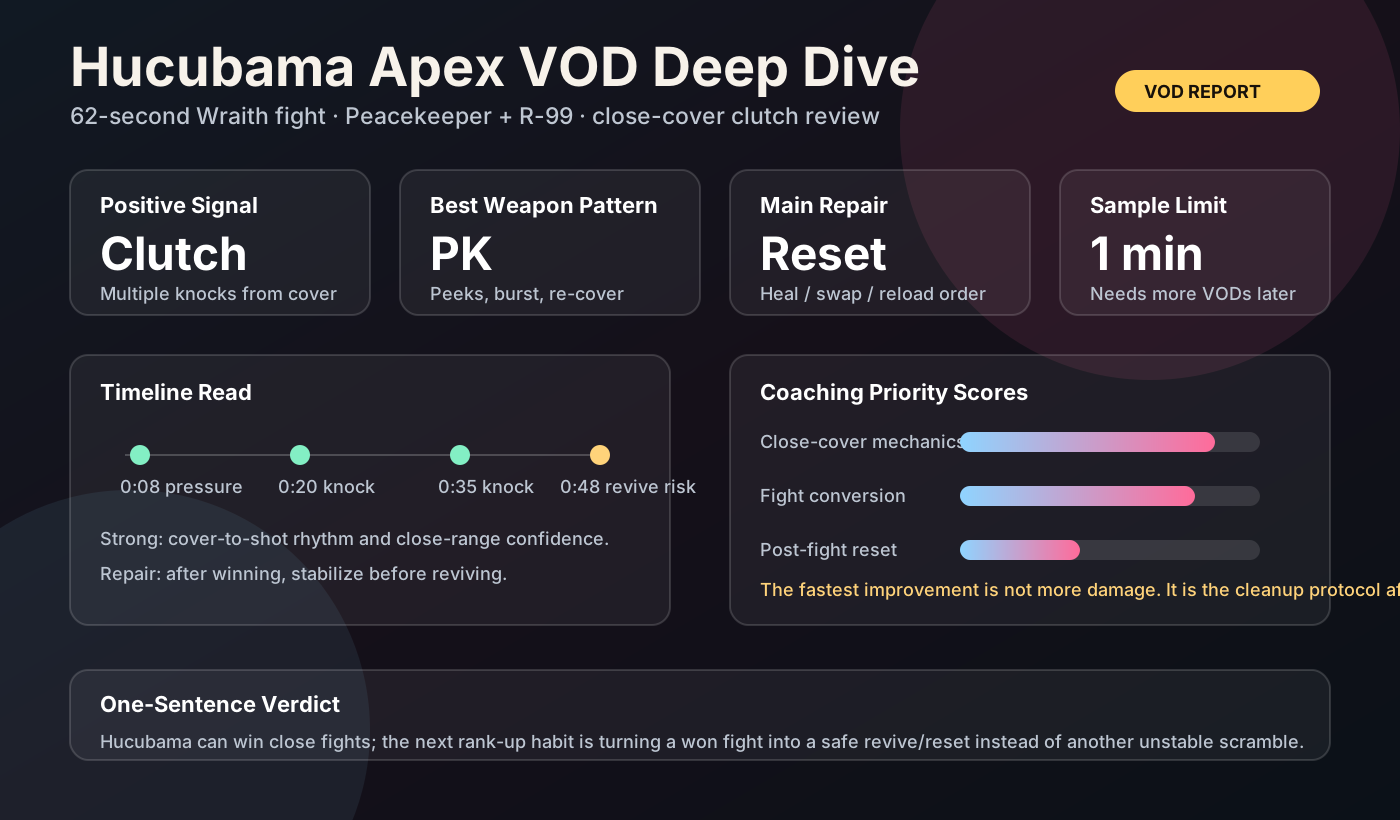
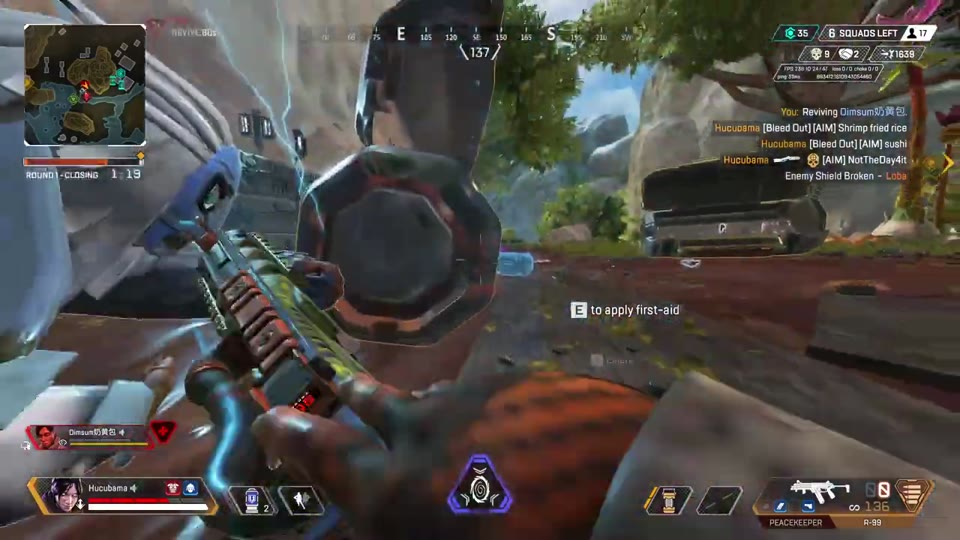
This 62-second clip is a compact fight sample: Hucubama uses Peacekeeper pressure, Wraith phase, and cover geometry to convert multiple knocks. The main fix is not damage output. It is the post-fight reset order.
Fast Verdict
Open aim-specific follow-up report
Hucubama can win close fights. The rank-up habit is turning a won fight into a safe reset: reload, armor swap or heal, clear the next angle, then revive.
Close-range cover fighting. He repeatedly uses the pod/building edge to expose only long enough for Peacekeeper bursts.
Peacekeeper peek rhythm. The 0:20 and 0:35 knocks are created by staying near cover and taking high-value burst shots.
The fight stays unstable after the kills. The revive starts while reload/heal/clear-state discipline is not fully complete.
Evidence Frames
Timeline Deep Dive
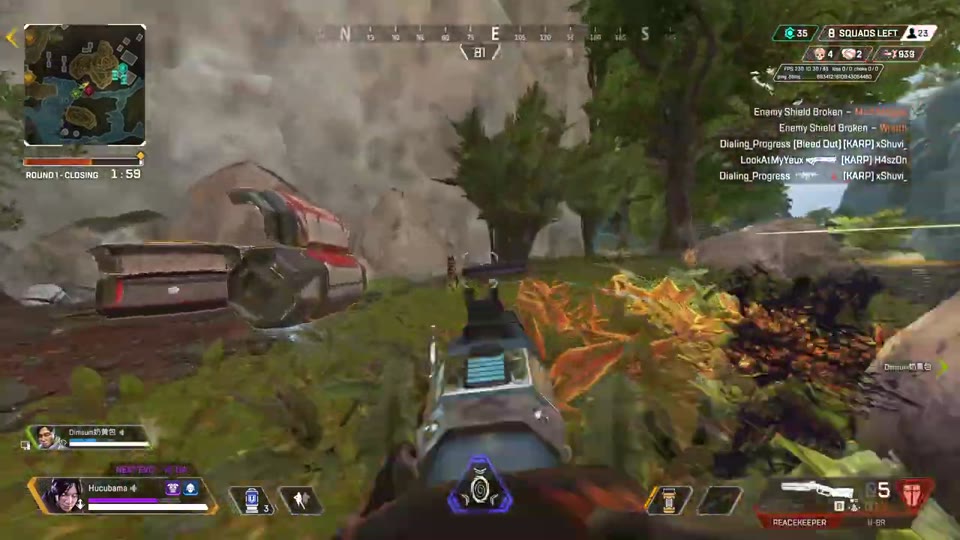
Two-player squad, Wraith with Peacekeeper/R-99, Round 1 closing, 9 squads alive. The team is approaching an active fight near hard cover and a narrow building edge.
He enters close enough for PK value and benefits from enemy shield breaks in the kill feed. This is correct: the fight is already softened, so stepping into burst range has a reason.
He takes return fire while near the building edge. The good part is that he is close to cover; the danger is that multiple lines can see him if he stays wide too long.
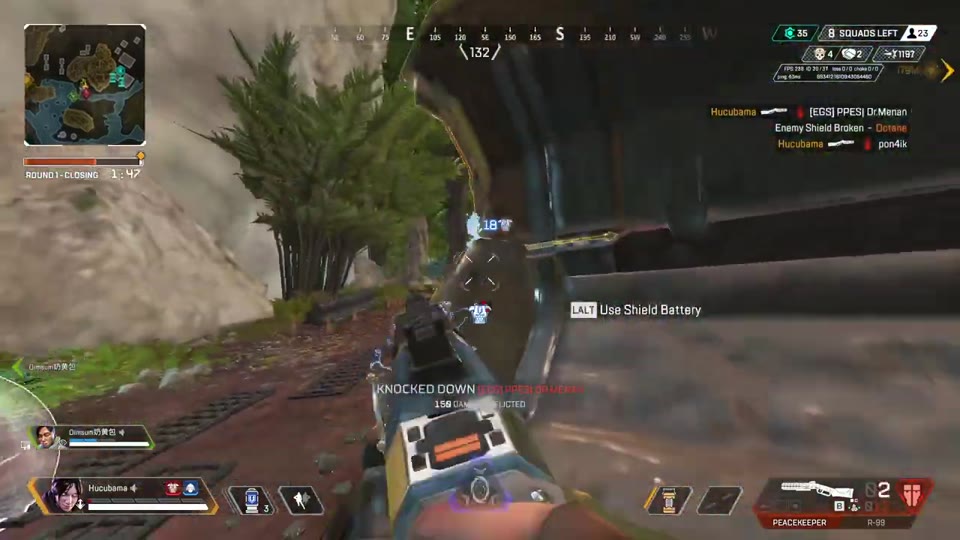
Phase appears after the first conversion. This is a strong habit: use Wraith tactical to deny the immediate punish window instead of ego-swinging after damage.
Peacekeeper burst converts a knock for 150 damage inflicted. This is the clip's cleanest proof of close-range confidence.
He starts a shield battery behind the pod. Good idea. The coaching question is whether the team should fully stabilize here before taking the next re-peek.
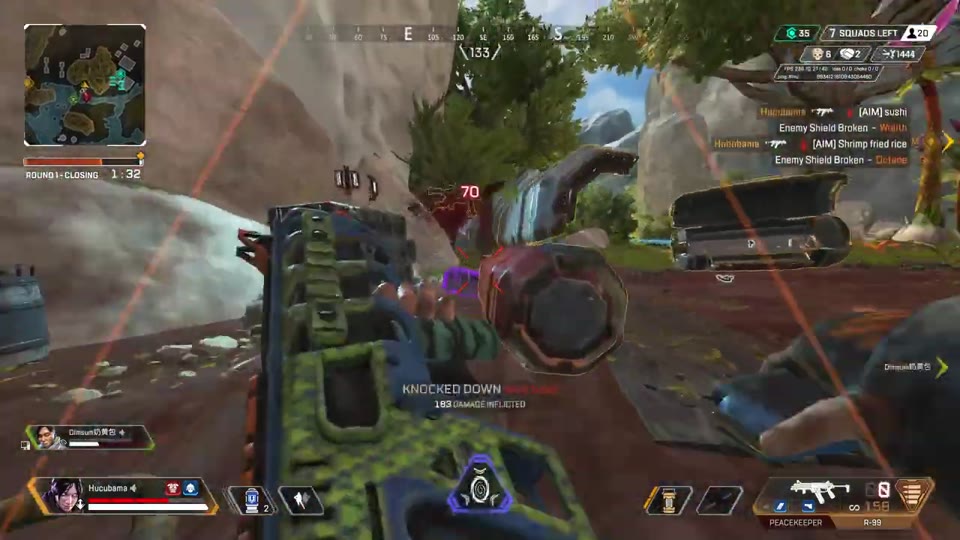
He re-peeks from cover and gets another knock. This is high-impact, but it also keeps the fight extended while resources are not fully restored.
Multiple eliminations appear, but the teammate is knocked. This is the transition point where the right play is no longer damage; it is cleanup protocol.
He starts reviving while low and not fully reset. The better default is: armor swap if available, reload both guns, clear the nearest angle/audio cue, then revive.
Priority Fix: Cleanup Protocol
After the last visible elimination, Hucubama should run a three-second checklist:
- Reload: Peacekeeper first if it is the next-contact weapon, then R-99.
- Resource: armor swap from nearby boxes if safe, otherwise battery/med behind hard cover.
- Clear: look and listen for the third party before committing hands to revive.
- Revive: only after the immediate angle is stable or the teammate is protected by cover/utility.
The clip is a one-minute sample. It is strong enough to diagnose fight cleanup, but not enough to judge rotations, macro, legend pool, or long-term ranked consistency.
Practice Assignment
- Run 10 close-range fights with a “one shot, one strafe, one cover touch” Peacekeeper rhythm.
- After every knock, say out loud: reload, swap/heal, clear, revive. Do not skip the words.
- In VOD review, mark every moment he starts an action with hands occupied: battery, reload, revive, loot. Ask: was the nearest angle clear?
- Save two more clips: one won fight and one lost fight. The next report should compare whether this reset issue repeats.